![]()
This section applies to 6000 series units with a camera.
Supported platforms: CODESYS 3.5
The camera is used via CODESYS 3.5 ActiveX element and 6000MultiMedia library. The library includes four methods for camera: Start, Stop, ChangeSource and UpdateParameters. This section contains step by step instructions on how to use camera(s) in a CODESYS 3.5 application.
|
|
This section applies to 6000 series units with a camera. |
|
|
This example uses 6000Multimedia library. |
|
|
By default, graphics cannot be drawn on top of the camera picture. |
1. Connect the camera(s) to HMI and open CODESYS 3.5 project
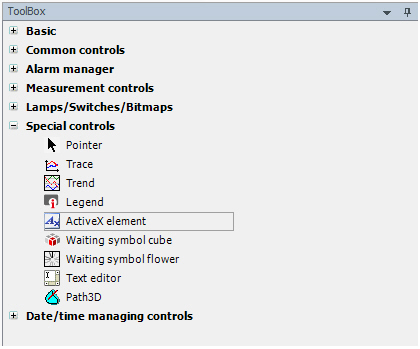
2. Add ActiveX element to Visualization:
3. Open element Properties by selecting the ActiveX element:
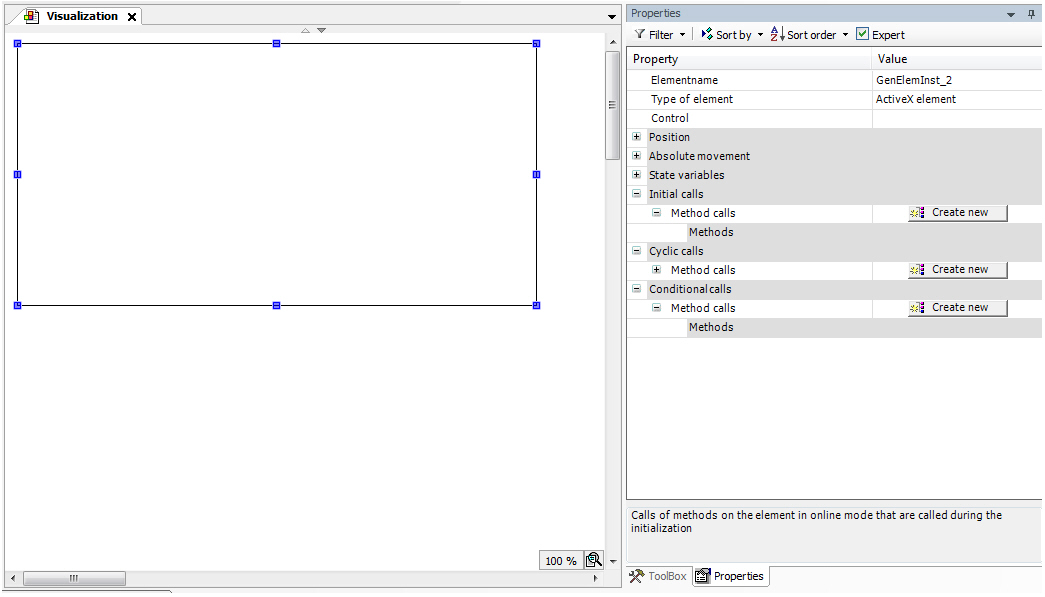
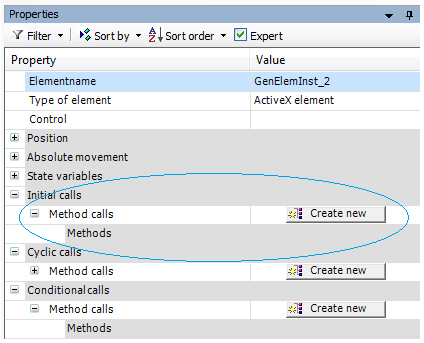
4. Define the Start method
Select Initial calls > Method calls > Create new
Define Start to the name of the method
Add the following variables to the application:
|
VAR Source: STRING:='camera1'; CropPar: CONTROL_CAMERA_PARAMETERS; Sink: CONTROL_SINK_PARAMETERS; ColorKeying: CONTROL_COLORKEYING_PARAMETERS; AdditionalCameraParameters: CONTROL_CAMERA_PARAMETERS2; StartResult: RTS_IEC_RESULT; CameraInitted: BOOL:=FALSE; END_VAR
|
Then, add parameters for the Start method:

The fourth variable ColorKeying is only needed if graphics are drawn on top of the camera picture. Runtime version 1.3.1.0 or newer is required for the ColorKeying parameter. Runtime version 1.4.2.7 or newer is required for the AdditionalCameraParameters parameter.
ColorKeying parameterColorKeying parameter
If colorkeying is enabled, the visibility of the camera picture is defined by the color specified for colorkeying.
The camera appears pixelated with the color of the pixels determined by the color specified as colorkeying color.
The rectangle element drawn must have the same position and size as the defined in the ActiveX element.
The rectangle
element must be filled with the same color as specified in colorkeying
parameters.

For the properties of the rectangle element, specify the frame color
and fill color.
In
the Color dialog box that opens, select Define
Custom Colors,
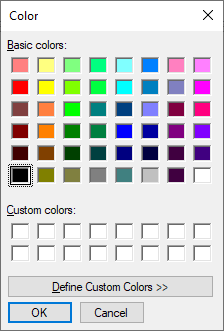
Type
the RGB values for the color. The values for blue are shown in the
following example:
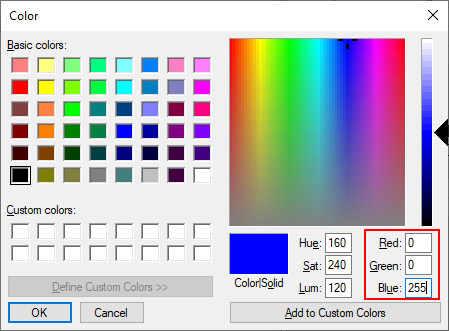
Make
sure to set red, green and blue to the same value as in specified
in the colorkeying parameter,
and then select OK.

The Colorkeying color parameter is in 16#RRGGBB format and each color component can be either 0 or 16#FF.
For example,
16#FF0000 is red.
16#00FF00 is green.
16#0000FF is blue.
Initialize the defined variables in the application code:
|
IF NOT CameraInitted THEN (*Initialized once*) Sink.Rotation:=0; (*No rotation*) CropPar.Crop.Bottom:=10; (*10 pixels*) CropPar.Crop.Left:=10; (*10 pixels*) CropPar.Crop.Right:=10; (*10 pixels*) CropPar.Crop.Top:=10; (*10 pixels*) ColorKeying.Enabled := TRUE; (*ColorKeying enabled*) ColorKeying.Color := 16#0000FF; (* blue *) AdditionalCameraParameters.Route := InputRouteComposite; (*Composite input *) AdditionalCameraParameters.TVMode := TvModePAL; (*PAL*) CameraInitted:=TRUE; (*Initialization done*) END_IF
|
5. Define the camera source change
To change the camera source in application, Select Conditional calls > Method calls > Create new.
Define ChangeSource to the name of the method
Add the following variables to the application:
|
VAR Source: STRING:='camera1'; CropPar: CONTROL_CAMERA_PARAMETERS; Sink: CONTROL_SINK_PARAMETERS; StartResult: RTS_IEC_RESULT; CameraInitted: BOOL:=FALSE;
Source1:STRING:='camera1'; Source2:STRING:='camera2'; ChangeResult:RTS_IEC_RESULT; ChangeCamera:BOOL; (*Button to change the camera source *) ChangeSourceTrigger: R_TRIG; (*Rising trigger for source change*) END_VAR
|
Add a Boolean variable for method Call condition. When this variable is set to TRUE, the method ChangeSource is called.
Add also other variables: Source, CropPar, Sink and ChangeResult.
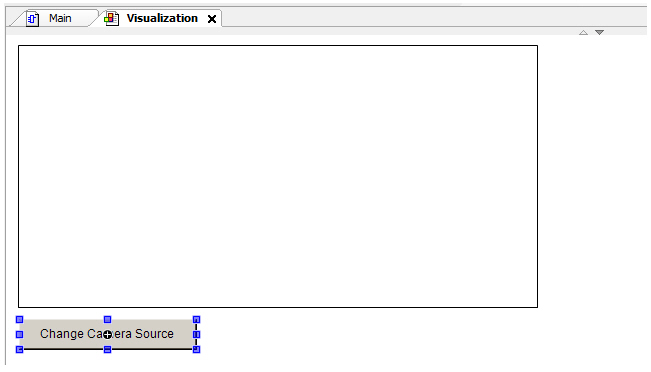
Add a button to the visualization view to trigger the camera source change:
Define InputConfiguration for the button:

Add a R_TRIG instance that detects the rising edge of the ChangeButton.
When the button is pressed,
1. Compare the current source and change it
2. Set the condition call variable ChangeCamera for method ChangeSource to TRUE
|
Source_Trig(CLK:= ChangeButton, Q=> ); (*Check the rising edge of button press *)
IF Source_Trig.Q THEN IF Source = Source1 THEN (*Compare current camera source*) Source:='camera2'; (*Change source*) ELSIF Source = Source2 THEN Source:='camera1'; (*Change source*) END_IF
ChangeCamera:=TRUE; (*Set the method ChangeSource variable TRUE*) END_IF
|
Source file topic000877.htm
Last updated 4-Sep-2025